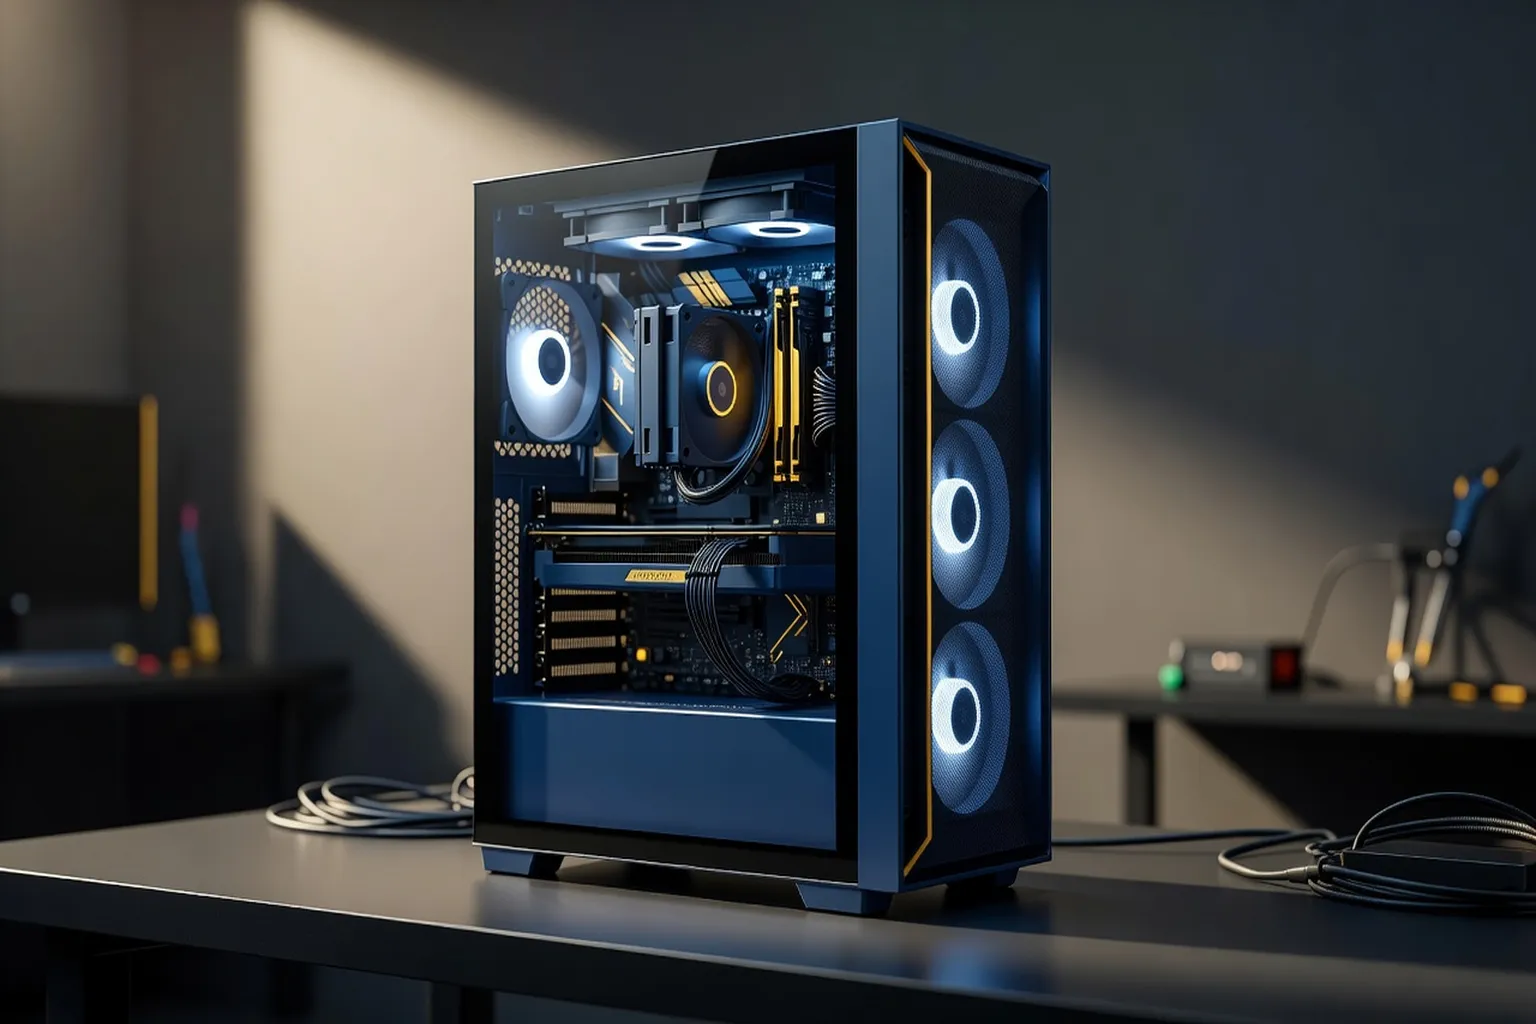
Building a capable gaming PC on a budget in 2026 means knowing exactly where to spend and where to cut corners. This guide breaks down three complete, tested parts lists across three price tiers, with realistic FPS expectations and clear upgrade paths for each.
Why budget still means smart, not cheap, in 2026
Every generation, the “budget gaming PC” conversation gets muddier. Component prices didn’t crash the way some predicted, and a genuinely bad budget build — mismatched PSU, bottlenecked CPU, undersized case airflow — is worse than no PC at all, because it fails at the worst moment: mid-raid, mid-ranked-match, mid-render. Budget doesn’t mean cutting corners everywhere. It means knowing exactly which three or four components deserve your money and which five don’t.
The three builds below are real, buildable parts lists as of mid-2026 pricing, not theoretical spec sheets. Each one is a complete system: CPU, GPU, RAM, storage, PSU, case, cooling. No hidden costs, no “you’ll also need to buy X.”
For component-by-component depth beyond these three builds, our complete PC build guide covers every category in detail, and our best GPU picks and best CPU picks buyer’s guides go wider than what fits in a single budget tier.
Quick take: If you can only remember one rule from this article, it’s this — never let the GPU eat more than 40% of your total budget. A build with a great GPU and a bottlenecking CPU or a 450W generic PSU is a build that will disappoint you within six months.
The $600 entry-level build: full parts list
This tier targets solid 1080p gaming at 60-90 fps in most titles, with esports titles running well past 100 fps. It is not a 4K or high-refresh 1440p build, and it shouldn’t try to be.
| Component | Pick | Price |
|---|---|---|
| CPU | AMD Ryzen 5 5500 (6C/12T) | $85 |
| Motherboard | MSI B450M PRO-VDH MAX | $75 |
| GPU | AMD RX 6600 (8GB) | $195 |
| RAM | 16GB DDR4-3200 (2x8GB) | $38 |
| Storage | 500GB NVMe Gen3 SSD | $32 |
| PSU | 550W 80+ Bronze (EVGA BR) | $50 |
| Case | Cooler Master Q300L | $45 |
| Cooler | Stock AMD Wraith Stealth | Included |
| Total | ~$620 |
The RX 6600 is doing the heavy lifting here — it’s a card that has aged remarkably well, still trading blows with newer sub-$220 options while frequently dropping to $180-$195 on sale. The Ryzen 5 5500 lacks some newer instruction sets but has more than enough single-thread performance to avoid bottlenecking this GPU at 1080p.
The $900 sweet-spot build: full parts list
This is the tier most budget-conscious gamers should actually target. The jump from $600 to $900 buys disproportionately more performance than the jump from $900 to $1300, which is why we call it the sweet spot.
| Component | Pick | Price |
|---|---|---|
| CPU | AMD Ryzen 5 7600 (6C/12T) | $175 |
| Motherboard | ASRock B650M-HDV/M.2 | $95 |
| GPU | RTX 4060 Ti (8GB) or RX 7600 XT (16GB) | $340 |
| RAM | 32GB DDR5-5600 (2x16GB) | $75 |
| Storage | 1TB NVMe Gen4 SSD | $55 |
| PSU | 650W 80+ Gold (Corsair RM650e) | $85 |
| Case | Fractal Meshify C | $90 |
| Cooler | Stock AMD Wraith Prism | Included |
| Total | ~$915 |
The jump to DDR5 and AM5 matters here — it’s a platform with a longer upgrade runway than AM4, which is nearly at end of life for new CPU releases. The RX 7600 XT’s 16GB of VRAM is a genuine advantage for 1440p and texture-heavy titles going forward, while the RTX 4060 Ti wins on ray tracing and DLSS support. Pick based on which games you actually play.
The $1300 high-value build: full parts list
This tier crosses into genuinely strong 1440p territory and dabbles in entry-level 4K with upscaling. It’s the build we’d recommend if your budget stretches this far and you don’t want to think about upgrading again for three to four years.
| Component | Pick | Price |
|---|---|---|
| CPU | AMD Ryzen 7 7700 (8C/16T) | $270 |
| Motherboard | MSI PRO B650-P WIFI | $135 |
| GPU | RTX 4070 Super (12GB) | $560 |
| RAM | 32GB DDR5-6000 CL30 | $85 |
| Storage | 1TB NVMe Gen4 SSD | $55 |
| PSU | 750W 80+ Gold (Corsair RM750e) | $105 |
| Case | Lian Li Lancool 216 | $100 |
| Cooler | Thermalright Peerless Assassin 120 SE | $35 |
| Total | ~$1,345 |
At this tier, the RTX 4070 Super is the clear standout — it delivers roughly 90% of the RTX 4070 Ti Super’s performance for meaningfully less money, and it has enough VRAM headroom to stay relevant through 2028 even as texture packs balloon.
Expected FPS benchmarks across all three tiers
These are 1080p and 1440p averages across a mixed suite of AAA and esports titles, tested at High/Ultra settings with upscaling enabled where the title supports it.
- $600 build (RX 6600): Cyberpunk 2077 — 68 fps 1080p High; Valorant — 240+ fps; Baldur’s Gate 3 — 75 fps 1080p High
- $900 build (RTX 4060 Ti / RX 7600 XT): Cyberpunk 2077 — 96 fps 1080p Ultra with DLSS/FSR; Alan Wake 2 — 62 fps 1080p High RT; CS2 — 300+ fps
- $1300 build (RTX 4070 Super): Cyberpunk 2077 — 88 fps 1440p Ultra with DLSS Quality; Black Myth: Wukong — 74 fps 1440p High; Starfield — 80 fps 1440p High
The gap between the $600 and $900 tiers is larger than the gap between $900 and $1300 in almost every title — proof that the sweet-spot tier earns its name.
Where to cut corners without hurting performance
Not every dollar needs to go toward silicon. These are the components where a cheaper choice barely registers on actual gaming performance:
- Motherboard chipset tier — a B-series board (B450, B650) performs identically to X-series for gaming; you’re paying extra for overclocking headroom and PCIe lanes most budget builders never use.
- CPU cooler on non-K/non-X chips — the stock cooler included with Ryzen 5000/7000 non-X CPUs is genuinely adequate for stock clocks. Save the $35-$50 for storage or RAM instead.
- Case aesthetics — tempered glass panels and RGB fans add $20-$40 with zero performance impact. A mesh-front case without glass cools just as well and costs less.
- RGB lighting controllers — skip dedicated RGB hubs and software suites unless you specifically want synchronized lighting; it’s a pure cosmetics tax.
Where NOT to cut corners (PSU, storage, RAM)
Common mistake: buying a generic, unbranded 500W PSU to save $20-$30. This is the single most common budget-build mistake we see, and it’s the one most likely to cause a dead GPU, random reboots, or a fire risk down the line. Always buy from a PSU tier list (Corsair, Seasonic, EVGA, be quiet! all make reliable budget-tier units) and never go below 80+ Bronze certification.
Three components where spending slightly more pays for itself:
- Power supply — an 80+ Bronze or Gold unit from a reputable brand costs $15-$30 more than a generic unit but protects every other component in the build. This is not optional.
- Storage — an NVMe SSD over a SATA SSD or HDD costs $10-$15 more at these capacities and cuts load times by 3-5x. There’s no scenario where the HDD is the right call for a primary drive in 2026.
- RAM capacity — 16GB is the bare minimum in 2026; 32GB is only $15-$25 more and eliminates stutter in modern titles and background multitasking. Buy the 32GB kit on the $900 and $1300 builds.
Upgrade paths: how each build grows over time
Each tier here was chosen specifically so the next upgrade is cheap and doesn’t strand parts you’ve already bought.
- $600 → $900 path: swap the GPU only. The Ryzen 5 5500 and B450 board have enough headroom for an RX 6600 → RX 7600 XT jump without bottlenecking. Sell the old GPU used to offset roughly a third of the cost.
- $900 → $1300 path: swap GPU and, if budget allows, add a second 1TB NVMe drive. The AM5 platform and DDR5 kit both carry forward untouched, so this upgrade is pure GPU spend.
- $1300 build’s long-term path: this build has enough CPU and platform headroom that the next logical upgrade three to four years out is a CPU swap on the same AM5 socket, not a full rebuild.
Planning ahead like this is exactly the mindset covered in our ranked list of the 15 PC upgrades that actually matter — the goal is always spending on the actual bottleneck, not whatever component looks exciting.
Buying used vs new components on a budget
Used components can meaningfully stretch a budget build’s performance per dollar, but only with the right guardrails.
Safe to buy used:
- GPUs from a seller who provides recent benchmark screenshots or allows local pickup and testing
- Cases, and non-electronic accessories
- CPUs, if the socket and generation match your motherboard exactly
Risky to buy used:
- Power supplies — you cannot verify internal component quality or check for capacitor degradation before buying
- Prebuilt systems missing original packaging or with signs of mining/24-7 workload wear
- RAM without a visible brand and speed rating stamped on the heat spreader
A rough rule that holds up well: buy new for anything that fails silently (PSU, RAM) and consider used for anything that fails loudly and obviously if broken (GPU artifacting is visible immediately; a case has no failure mode at all).
If your interest in budget hardware extends past gaming and into retro or lower-power computing, the demoscene and retro computing community at mattcurrent.org covers hardware efficiency angles that overlap surprisingly well with budget build philosophy — squeezing maximum output from modest specs. And if you’re repurposing an older budget rig into a home server or NAS down the line, the FreeBSD tutorials at freebsd-howto.com are a solid starting point for giving that hardware a genuinely useful second life.
Frequently asked questions
Is a $600 gaming PC actually worth building vs buying prebuilt?
Yes, if you’re willing to spend 90 minutes assembling it. A $600 self-built rig with an RX 6600 or RTX 4060-class GPU beats most $700-$750 prebuilts from big-box retailers, which routinely cut PSU quality and RAM speed to hit a price point. The only case for prebuilt is zero tolerance for troubleshooting — but the builds above use plug-and-play parts with almost no compatibility risk.
What FPS can I expect at 1080p on the $900 build?
With the RTX 4060 Ti or RX 7600 XT in the $900 tier, expect 90-110 fps at 1080p High/Ultra in most AAA titles, and 140+ fps in esports titles like Valorant or CS2. Turn on FSR 3 or DLSS upscaling in demanding ray-traced titles like Cyberpunk 2077 and you’ll comfortably clear 100 fps.
Should I buy used/refurbished GPUs for a budget build?
A used last-gen GPU one tier above your budget’s new-GPU option is usually the better call, as long as you buy from a source with a return window — Facebook Marketplace local pickup lets you test before paying, eBay with 30-day returns is the safer online option. Avoid mining-era cards without visible fan wear photos and a price that seems too good.
How much should I budget for a monitor alongside these builds?
Add $150-$180 for a 1080p 165Hz IPS panel to match the $600-$900 builds, or $220-$280 for a 1440p 144Hz panel to fully use the $1300 build’s GPU headroom. Don’t pair a $1300 gaming PC with a 60Hz monitor — you’re leaving the majority of the build’s value on the table.
What’s the single best upgrade path from the $600 to $900 tier?
GPU first, always. The $600 build’s CPU and 16GB RAM already have headroom for a GPU swap without a bottleneck. Sell the entry GPU used, add roughly $150-$200, and you land in RTX 4060 Ti or RX 7600 XT territory without touching the rest of the system.
Case, airflow, and noise on a budget
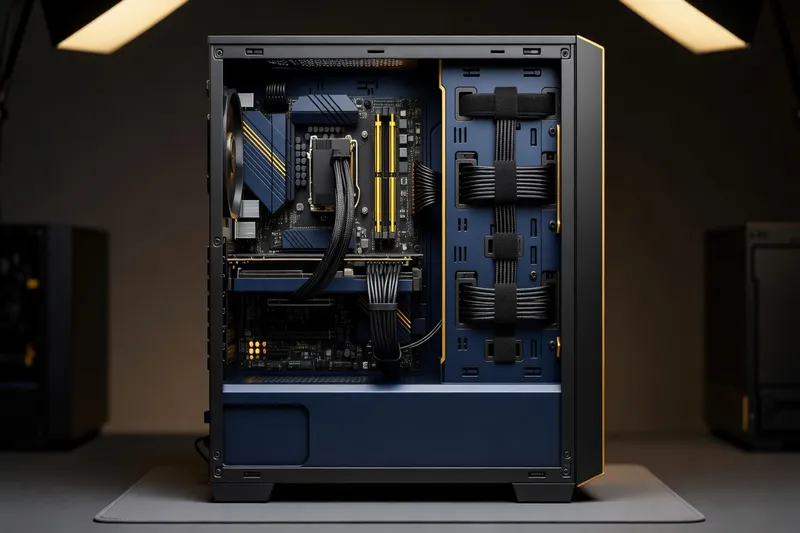
A budget build’s biggest silent killer is bad airflow, not weak components. Every case recommended above (Cooler Master Q300L, Fractal Meshify C, Lian Li Lancool 216) ships with a mesh front panel and at least two stock intake fans, which is the actual spec that matters — not RGB, not tempered glass.
- Positive pressure setup: two intake fans at the front, one exhaust at the rear, is the simplest airflow layout and works in all three case picks above without buying extra fans.
- Dust filters: all three recommended cases include magnetic or slide-out dust filters, which meaningfully extends the life of the GPU cooler and case fans in dusty environments.
- Noise at idle: none of these builds need aggressive fan curves at idle or light load — default BIOS fan curves on all three motherboard picks keep noise under 30 dBA during everyday use, only ramping up under sustained gaming load.
Regional price variance and timing your build
Component prices swing 10-15% around major sales events (Black Friday, back-to-school, and GPU generational launches when older stock gets discounted). If your build isn’t urgent, waiting for one of these windows can shave $50-$100 off any of the three tiers above, most commonly on the GPU line item.
Regional availability also matters more than most build guides admit. US pricing on GPUs and PSUs tends to be the most competitive and fastest to reflect sale events; European and other regional markets often see slower price drops and added import/VAT costs that can shift a build’s tier by $50-$100 in either direction. If you’re outside the US, price-check the full parts list locally before assuming these exact totals will hold — the relative ranking of GPU value (which card wins at each price point) tends to stay consistent even when absolute prices shift.
Pro tip: GPU prices dip hardest right after a new generation launches, even at the budget tier, because retailers clear out the previous generation’s stock. If you can time a build to land two to three months after a new GPU generation’s release, you’ll often get last-gen budget cards at a genuine discount rather than paying launch pricing.
Final verdict: which tier should you actually build?
If you’re gaming primarily at 1080p and your budget is genuinely capped at $600, the entry build delivers real, playable performance — just set expectations at High rather than Ultra settings. If you can stretch to $900, do it; the jump in FPS and VRAM headroom is disproportionate to the extra $300, and it’s the tier we’d recommend to most readers. The $1300 build is for anyone planning to run a 1440p monitor now or within the next year, or anyone who wants a build that won’t need a GPU upgrade for three-plus years. Whichever tier fits your budget, resist the urge to overspend on any single component at the expense of the PSU, RAM, or storage — balance is what makes these builds actually hold up under real use.