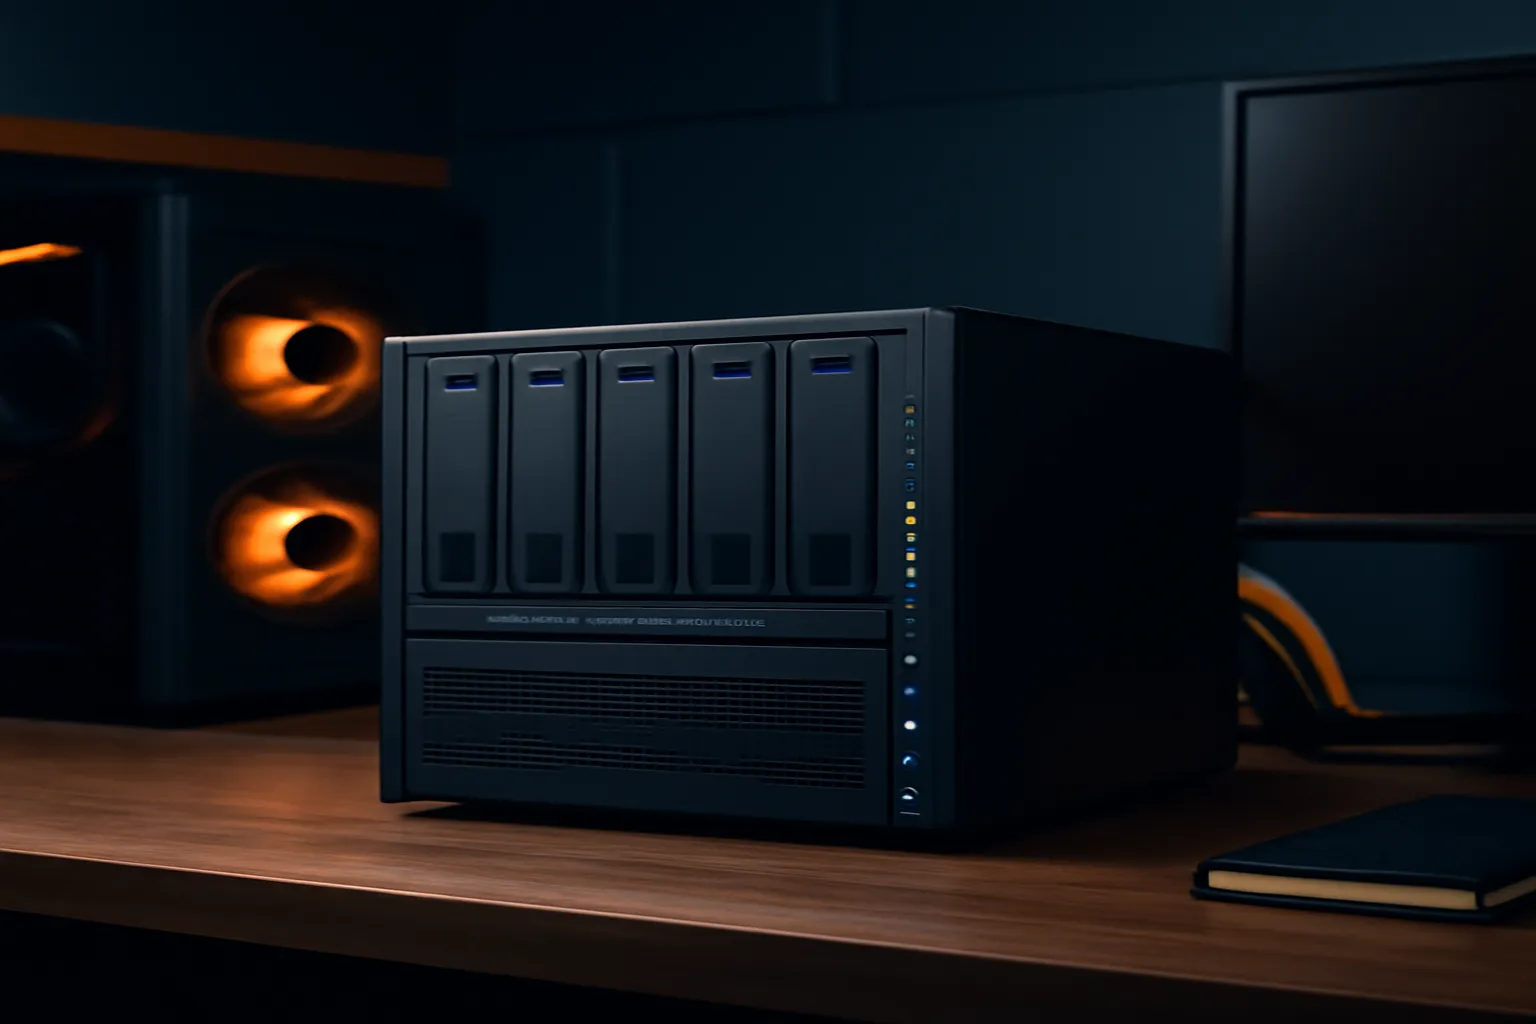
Home servers and NAS builds have very different hardware priorities than gaming PCs: efficiency, storage redundancy, and uptime matter more than raw speed. This guide walks through the exact hardware decisions that make or break a home server build.
Why home server hardware priorities differ from gaming PCs
A gaming PC is optimized for short bursts of maximum performance. A home server or NAS is optimized for the opposite: it needs to run continuously, for years, while drawing as little power as possible and never losing data. That difference changes almost every hardware decision, starting with the CPU and ending with the case.
If you’ve been through our gaming PC build guides, it’s worth resetting your assumptions here. A powerful gaming CPU with high boost clocks is often the wrong choice for a server that will run 24 hours a day, 365 days a year — efficiency and thermal headroom under sustained load matter more than peak single-core speed.
This guide walks through the five hardware decisions that actually determine whether a home server build succeeds: CPU, RAM, storage, RAID/ZFS level, and networking. Each section explains not just what to buy, but why it matters for this specific use case.
Choosing the right CPU: efficiency vs transcoding power
The first decision in any home server build is the CPU, and it comes down to a simple question: how much active transcoding will this machine do?
For pure file storage and backups (no Plex, no Jellyfin, minimal compute), a low-power CPU in the 6-15W TDP range is genuinely enough. Intel’s N-series (N100, N305) and AMD’s low-power embedded options both handle file serving, backups, and light Docker container workloads without breaking a sweat, while keeping the whole system’s power draw under 25W at idle.
For media serving with transcoding (Plex, Jellyfin, Emby), the calculation changes. Modern Intel CPUs with Quick Sync Video handle hardware-accelerated transcoding extremely efficiently — a single 4K-to-1080p transcode uses a small fraction of the CPU’s capacity when offloaded to Quick Sync, versus nearly maxing out a CPU core if forced into software transcoding.
Common mistake: buying a home server CPU based on Cinebench or gaming benchmarks. Those numbers are almost irrelevant here. What matters is (1) idle power draw, (2) whether the integrated GPU supports hardware transcoding for your target codecs (HEVC/H.265 support is now table stakes), and (3) sustained performance under 24/7 load without thermal throttling.
| CPU tier | Example | Idle power | Best for |
|---|---|---|---|
| Ultra low-power | Intel N100 | 6-10W | File storage, backups, light Docker |
| Low-power w/ Quick Sync | Intel Core i3-14100 | 15-20W | 2-3 simultaneous Plex transcodes |
| Mid-power | AMD Ryzen 5 8600G | 20-30W | Heavier virtualization, multiple VMs |
Whichever tier fits your workload, cross-check the CPU choice against our best CPU buyer’s guide for 2026 for current pricing and platform longevity, and against our best motherboard picks for boards that support ECC and enough SATA/M.2 lanes for a multi-drive build.
RAM and ECC: when it actually matters at home
RAM capacity for a home server is usually less demanding than people expect, but the ECC (Error-Correcting Code) question generates a disproportionate amount of debate.
Here’s the practical answer: ECC RAM protects against silent bit-flip errors that can, over time, corrupt data during ZFS scrubs or long-running arrays. For a home NAS storing photos, media, and personal backups, this risk is real but small — non-ECC RAM has run millions of home NAS units without incident. ECC becomes meaningfully more important as array size grows, as scrub frequency increases, or as the data’s irreplaceability increases (irreplaceable family photos versus a re-downloadable media library, for example).
In practical terms:
- 16GB is a reasonable baseline for a 4-bay NAS running TrueNAS or Unraid with a handful of Docker containers.
- 32GB is worth it if you’re running ZFS, since ZFS uses RAM aggressively for its ARC (Adaptive Replacement Cache), and more RAM directly improves read performance.
- ECC support requires the right CPU and motherboard combination — most consumer platforms don’t support it, so if ECC matters to you, verify compatibility before buying any other component. Our best RAM buyer’s guide for 2026 covers which kits support ECC and which platforms pair with them.
Storage tiers: HDD, SSD, and cache drive strategy
Storage is where most of a home server’s budget should go, and it’s also where the tiering strategy matters more than any single drive’s raw speed.
- Bulk storage (HDDs): for the main data pool, high-capacity NAS-rated HDDs (WD Red Plus, Seagate IronWolf) are the right choice. These drives are rated for 24/7 operation and include firmware tuned for RAID/ZFS vibration tolerance, unlike desktop drives.
- Cache/metadata drives (SSDs): a small NVMe or SATA SSD as a cache drive (in Unraid) or a dedicated metadata vdev (in ZFS/TrueNAS) dramatically speeds up small-file operations and directory listings without needing to put the entire pool on flash storage.
- Boot drive: a small, separate SSD (or even a reliable USB drive on some platforms) for the OS keeps the main storage pool entirely dedicated to data, which simplifies both backups and OS reinstalls.
For more detail on which specific SSD models perform best across price points, our best SSD guide for 2026 covers the NVMe and SATA options that make sense as cache and boot drives here.
Pro tip: buy NAS-rated drives (WD Red Plus/Pro, Seagate IronWolf) rather than desktop drives for any array that will run continuously. The price difference is small — typically $5-$15 per drive — but desktop drives lack the vibration compensation firmware that keeps performance and reliability consistent in a multi-drive enclosure.
RAID and ZFS: picking the right redundancy level
RAID and ZFS redundancy levels trade capacity for fault tolerance, and the right choice depends entirely on drive count and how much risk you’re willing to accept.
| Level | Drives needed | Fault tolerance | Usable capacity (4x drives) |
|---|---|---|---|
| RAID 1 / Mirror | 2 | 1 drive failure | 50% |
| RAID 5 / RAIDZ1 | 3+ | 1 drive failure | 75% (at 4 drives) |
| RAID 10 | 4+ | 1 per mirror pair | 50% |
| RAID 6 / RAIDZ2 | 4+ | 2 drive failures | 50% (at 4 drives) |
For a 4-bay build, RAIDZ1 (ZFS) or RAID 5 is the standard recommendation — it delivers a good balance of usable capacity and fault tolerance for most home use cases. As drive counts grow past 6-8 bays, rebuild times after a failure increase substantially, and that’s when RAID 6/RAIDZ2’s ability to survive two simultaneous drive failures starts to matter more.
A few practical rules worth following regardless of which level you choose:
- Never run a NAS array without any redundancy — a single-drive failure with no parity means total data loss, not partial.
- RAID and RAIDZ are not a backup — they protect against drive failure, not against fire, theft, ransomware, or accidental deletion. A real backup strategy needs an off-site or cloud copy as well.
- Match drive models and, ideally, purchase batches from different retailers or manufacturing dates to avoid correlated failures from a bad batch.
Networking hardware: 1GbE, 2.5GbE, and beyond
Network throughput is the ceiling on how fast you can actually access your NAS, and it’s a bottleneck people frequently overlook after spending most of their budget on drives and CPU.
- 1GbE (gigabit): caps out around 110-125 MB/s in practice — fine for a single 4K stream or light file access, but noticeably slow for large file transfers or multiple simultaneous users.
- 2.5GbE: roughly doubles to triples real-world throughput over 1GbE and is now standard on most mid-range motherboards and NAS units released since 2024, making it the practical baseline for a new build in 2026.
- 10GbE: worth considering only if your storage pool itself can sustain those speeds (an all-SSD pool, or a large HDD array with a fast cache tier) and you have 10GbE-capable switching elsewhere on the network — otherwise it’s an unused ceiling.
Match your network upgrade to your actual storage speed. There’s no benefit to a 10GbE NIC feeding a spinning-disk array that tops out well below gigabit speeds under sustained sequential writes.
Case and PSU choices for 24/7 uptime
Two hardware choices that get far less attention than CPU or storage, but directly affect whether a home server runs reliably for years without intervention:
- Case: prioritize drive bay count, airflow across the drive cage specifically (not just the CPU), and noise — a server running in a living space or office needs quiet fans, while one in a closet or basement has more thermal headroom to work with.
- PSU: an 80+ Gold or better unit sized appropriately for the actual load (not oversized) runs more efficiently at the server’s typical partial-load operating point, which matters over years of continuous 24/7 operation far more than it does in a gaming PC that’s only under heavy load part of the day.
A quality PSU also meaningfully reduces the risk of a power event damaging your array — a topic our PC build guide covers in more general terms, but which carries extra weight here since a server outage can mean lost uptime for every device and service depending on it.
Prebuilt NAS vs DIY build: cost and flexibility comparison
| Factor | Prebuilt (Synology/QNAP) | DIY build |
|---|---|---|
| Upfront cost | Higher for equivalent hardware | Lower — general PC parts pricing |
| Software ecosystem | Polished, app store, vendor support | DIY (TrueNAS, Unraid, Linux) |
| Hardware flexibility | Limited to vendor options | Full control over CPU/RAM/drives |
| Upgrade path | Often locked to vendor drive compatibility lists | Fully open |
| Setup complexity | Lower — guided setup wizards | Higher — requires OS/RAID configuration |
Neither option is objectively better — it depends on how much you value a polished, supported software experience versus raw hardware value and configuration control. Prebuilt units genuinely make sense for anyone who wants NAS features without the setup overhead; DIY builds make sense for anyone comfortable with a bit of Linux/BSD administration in exchange for a meaningfully better price-to-hardware ratio.
For readers specifically interested in the DIY, open-source side of home server hardware, the ZFS-based FreeBSD NAS tutorials at freebsd-howto.com walk through building a TrueNAS-style setup on FreeBSD directly, and the self-hosting NoSQL databases at home guide at nosqlsummer.org is a useful next step once your NAS hardware is in place and you want to run more than file storage on it.
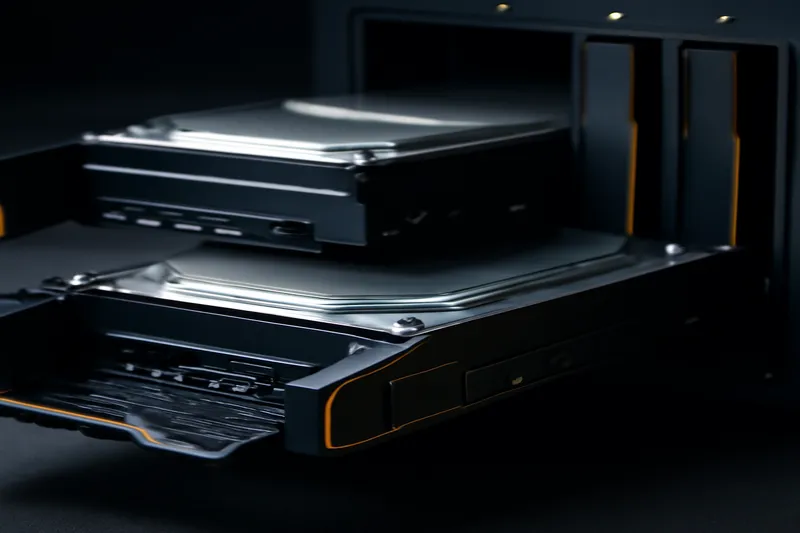
A complete $500 home server parts list
Putting the guidance above into a concrete, buildable parts list:
- CPU + motherboard combo: Intel N100 mini-ITX board with integrated CPU — $110
- RAM: 16GB DDR4/DDR5 (single stick, expandable) — $35
- Boot drive: 128GB SATA SSD — $18
- Bulk storage: 2x 4TB WD Red Plus (start with 2 bays, expand later) — $260
- Case: 4-bay mini-ITX NAS case with hot-swap bays — $75
- PSU: included with most mini-ITX NAS cases, or a compact 300-400W 80+ Bronze unit — included/$25
This is intentionally a starting configuration — you can run it in a simple mirror (RAID 1) with two drives, then expand to four bays and move to RAIDZ1 once budget allows for two more drives.
Frequently asked questions
Do I need ECC RAM for a home NAS?
For a first NAS running mostly file storage and media serving, no — non-ECC RAM is fine and thousands of home NAS builds run reliably on it. ECC becomes worth the extra cost once you’re running ZFS with large arrays where silent data corruption during a scrub could compound, or once the NAS holds data you genuinely cannot afford to lose without a backup.
How many drive bays should a first NAS build have?
Four bays is the practical sweet spot for a first build. It supports a proper RAID 5/RAIDZ1 or RAID 10 array with room to grow, while a 2-bay unit only gives you mirroring with no expansion path. Six or eight bays is worth the extra cost only if you already know you need more than roughly 20-30TB of usable capacity.
Is a low-power CPU enough for Plex transcoding?
For one or two simultaneous 1080p transcodes, yes — a modern low-power CPU with integrated Quick Sync (Intel) or equivalent hardware encoding handles this comfortably at under 15W. For three or more simultaneous 4K transcodes, you’ll want a CPU with a stronger integrated GPU or a dedicated hardware transcoding path, since software-only transcoding on a low-power CPU will stutter under that load.
What RAID/ZFS level is best for a 4-bay home server?
RAIDZ1 (or RAID 5) is the standard recommendation for a 4-bay build — it tolerates one drive failure while giving you three drives’ worth of usable capacity. If the data is genuinely irreplaceable, RAID 10 or RAIDZ2 trades some capacity for the ability to survive two drive failures, which matters more as drive counts and rebuild times increase.
Should I buy a prebuilt NAS or build my own?
A prebuilt NAS (Synology, QNAP, TrueNAS Mini) is the better choice if you value a polished software ecosystem, app store, and vendor support over raw cost savings. A DIY build costs less for equivalent hardware and gives you full control over the OS (TrueNAS, Unraid, or a Linux distribution), but it requires more hands-on setup and troubleshooting knowledge.
Putting it all together: a decision checklist
Before finalizing any home server build, it helps to walk through these questions in order, since each answer constrains the next decision:
- How many drive bays do you need today, and in two years? This determines case size and motherboard requirements.
- Will you run Plex/Jellyfin transcoding, and how many simultaneous streams? This determines whether you need a CPU with strong integrated graphics.
- How irreplaceable is the data? This determines whether ECC RAM and a higher RAID/ZFS redundancy level are worth the extra cost.
- What’s your realistic network throughput ceiling? This determines whether 1GbE, 2.5GbE, or beyond makes sense, and whether your storage tier can even use it.
- Do you want a supported, polished experience, or full configuration control? This determines prebuilt versus DIY.
A home server built by answering these five questions in order will almost always outperform one built by simply buying the most powerful available parts — because the hardware that matters here is fundamentally different from what matters in a gaming PC.
Common home server mistakes worth avoiding
Even experienced PC builders occasionally get home server hardware wrong on a first attempt, usually by applying gaming-PC instincts to a very different workload:
- Buying desktop drives instead of NAS-rated drives to save a small amount per drive, then experiencing higher failure rates or vibration-induced performance issues in a multi-bay enclosure.
- Skipping redundancy entirely on a single large drive, treating capacity as the only metric that matters.
- Oversizing the PSU far beyond the system’s actual power draw, which reduces efficiency at the server’s typical low, sustained load rather than improving anything.
- Ignoring backup strategy because “it’s on RAID, so it’s safe” — RAID protects against drive failure only, not against the far more common failure modes of accidental deletion, ransomware, or fire/theft.
Avoiding these four mistakes matters more to long-term reliability than any single component upgrade, and it costs nothing extra to get right from the start.